Made in: Adobe Photoshop CS5
Don't claim as your own.
Enjoy ♥

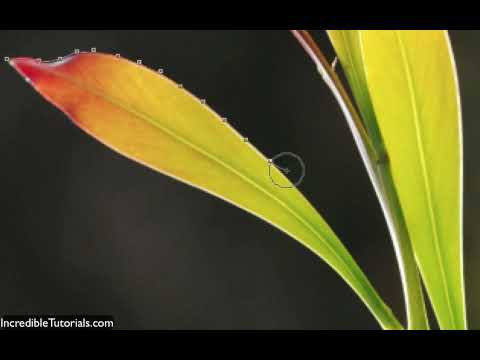
1. Find your image and crop it to 100x100.
Then go to Layer → New Adjustment layer → Selective Coloring:
Yellow: -61
2.Layer → New Adjustment layer → Curves:
Output: 54 Input: 79
Output: 189 Input: 161
3.Layer → New Adjustment layer → Color Balance:
Shadows:
Magenta: +10
Yellow: +10
4.Layer → New Adjustment layer → Color Balance:
Midtones:
Cyan: +45
5.Layer → New Fill layer → Solid color:
Color: #f2d798
Mode:Multiply
Opacity: 21%
6.Layer → New Adjustment layer → Selective color:
Cyan: -72
Magenta: +5
Yellow: -32
Black: -32
7.Layer → New Fill layer → Gradient
On this step, I'm using a gradient I downloaded from link, but if you want, you can always use another one. After selecting the gradient set to:
Mode: Soft Light
Opacity: 40%
8.Layer → New Adjustment layer → Curves:
Output: 127 Input: 125
Output: 199 Input: 198
9.Layer → New Adjustment layer → Brightness/Contrast:
Brightness: +23
Contrast: +8
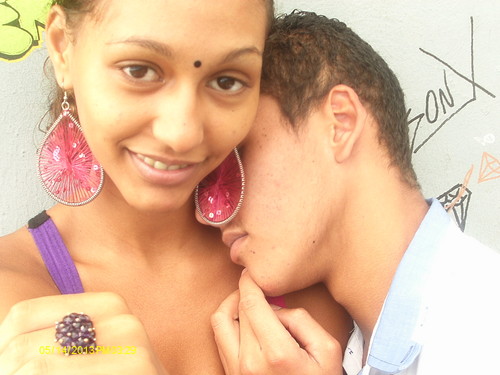
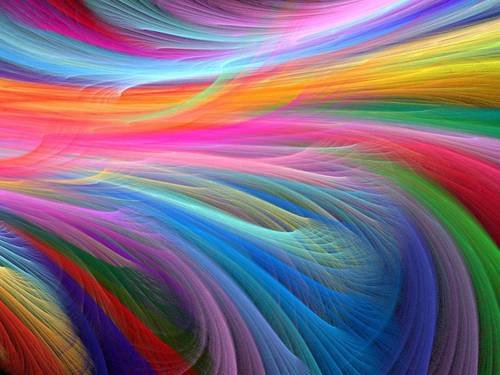
Other examples

Don't claim as your own.
Enjoy ♥

1. Find your image and crop it to 100x100.
Then go to Layer → New Adjustment layer → Selective Coloring:
Yellow: -61
2.Layer → New Adjustment layer → Curves:
Output: 54 Input: 79
Output: 189 Input: 161
3.Layer → New Adjustment layer → Color Balance:
Shadows:
Magenta: +10
Yellow: +10
4.Layer → New Adjustment layer → Color Balance:
Midtones:
Cyan: +45
5.Layer → New Fill layer → Solid color:
Color: #f2d798
Mode:Multiply
Opacity: 21%
6.Layer → New Adjustment layer → Selective color:
Cyan: -72
Magenta: +5
Yellow: -32
Black: -32
7.Layer → New Fill layer → Gradient
On this step, I'm using a gradient I downloaded from link, but if you want, you can always use another one. After selecting the gradient set to:
Mode: Soft Light
Opacity: 40%
8.Layer → New Adjustment layer → Curves:
Output: 127 Input: 125
Output: 199 Input: 198
9.Layer → New Adjustment layer → Brightness/Contrast:
Brightness: +23
Contrast: +8
Other examples