

Before we get started, I'd like to introduce the reader to the preferable programs, although I'm sure one could improvise this tutorial into their own program.
The first one I'll use is called paint.net.
Paint.net is pretty much your typical XP MS Paint, but with a few extra features, such as layers, transparency, and some fancy effects. For this, we'll keep it pretty simple and only use the first two of those listed extras.
The other program we'll be using is GIMP 2.6. Other versions of GIMP can be used, of course, but seeing as I am unfamiliar with those, you may need to improvise on your own.
First off, you should do a rough sketch of the character you wish to draw. This can be on paper, or on the computer.
If you're doing this on computer, then I suggest opening paint.net and sketching on Layer 1 in a light blue, red, any colour except black, because that is what we're going to use for the lineart later on.
On the other hand, if you've sketched on paper, take a photo or scan that into your computer, and open it with paint.net. Assuming you've used grey leaded pencil for the sketch, it may be a little dark- You want to have a light sketch, although not so light you can't see it. If you go to |Adjustments| |Brightness / Contast| you can edit how bright the picture is.
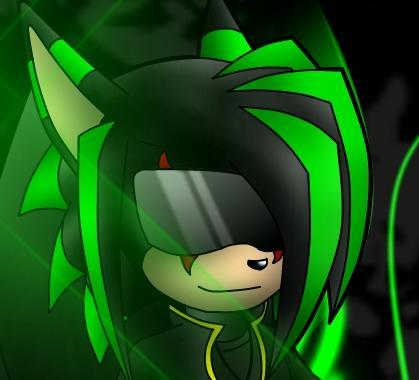
Because I'm lazy, I'm not going to bother posting an image of the sketch, and we're going to move straight to the lineart.
Once you have your sketch, add a new layer to your picture. On this new layer, I like to use a size 2 brush to do my lineart. Because I use a mouse, I use the line/curve tool, but for tablet users, you can improvise with that.
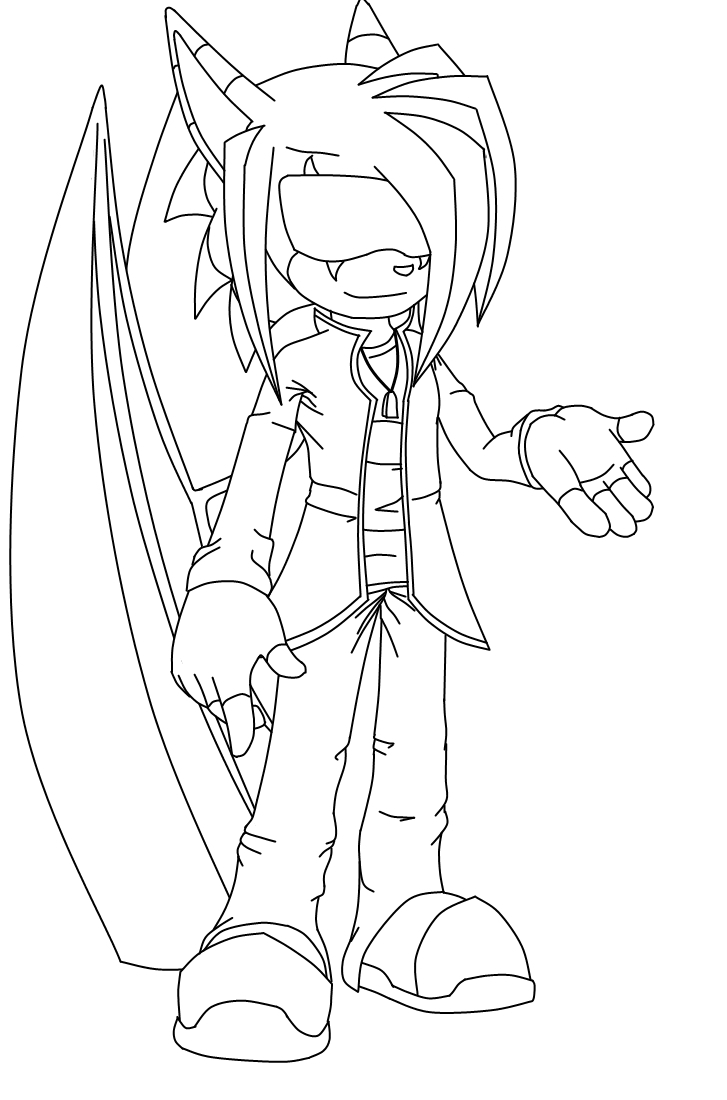
That is my current lineart stage- Although, because this must be a JPEG to upload into an article, I had to get rid of the transparency. You should save it as either a .pdn or .tiff file to preserve transparency when working.
What I do next, is change my line/curve tool to a size 3 brush, and go around ONLY the outside line of the picture, to silhouette it in. This takes more time and you'll need to have some patience to do it, but it makes the picture look a lot cleaner, crisper, and more professional.
At this point, you may also want to delete your sketch layer. This stage should be done solely on the one layer, with a transparent background.
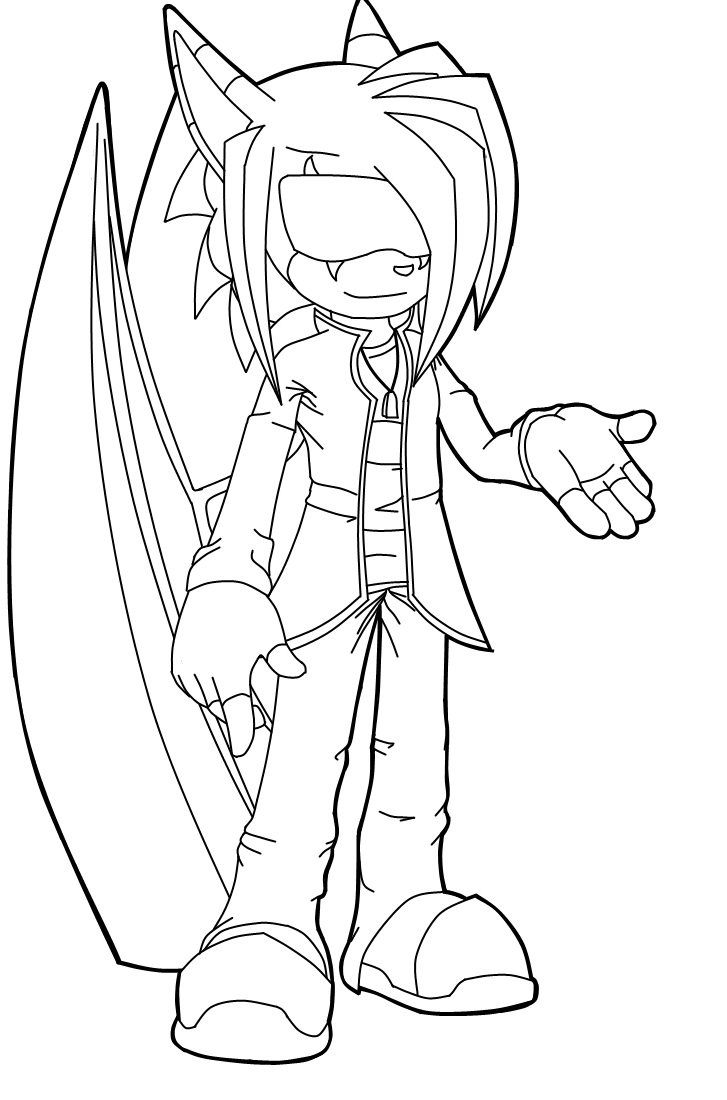
This is what my lineart looks like after I've done that. It looks much nicer, and will make for a much more striking image when coloured and finished.
That ends the stage of lineart. So, now, we want to colour it!
But first, you'll need to save your work.
If you haven't already, delete any unwanted layers and compress the needed ones, until you have ONLY one layer- Your lineart, on a transparent background.
You CAN save this as a JPEG, but I prefer not to- JPEG files have horrible quality and it'll make colouring it in a lot harder. Instead, I save it as a .tiff file.
Exit paint.net, get your file, and open it in GIMP.
First things first. I like to start with the background- It makes 'smoothing' the character in much easier later on. Give a light source, or if you want to, several. Keep in mind this will effect your shading later on.
To make a background, add a layer, and stack it BEHIND your lineart.
When doing your background, you may want to download some effect brushes- For this, I used a glow brush for the green, and a grudge brush with low opacity for the white.

And there it is. A quick, easy-to-make, but pretty background. I used a total of three layers for that, and then compressed them into one.
Now that's all well and good... But it could look nicer. So we'll add some foreground lights, on a layer above the lineart. You can mess with the opacity of the extra lights layer for better effects.

Here it is so far. I used a three different sparklies brushes on a low layer opacity. This layer, as said, is stacked ABOVE the lineart. This will add a nice glow to the picture later on.
Now, we begin the actual colouring itself.
I use the pencil tool to colour in the picture, on a new layer underneath the lineart, but above the background. As I go, I shade using a black airbrush tool set at low opacity, and a lighter shade of the in-use colour for highlights. Add and merge the colour layers as you go.
A helpful hint for when shading, is to use the Magic Wand tool, aka the Fuzzy Select tool, to choose the area in use before starting.
Once you've finished with colouring and shading, merge all your layers into one, and at long last, save your drawing as a JPEG file. And then it's ready to upload!
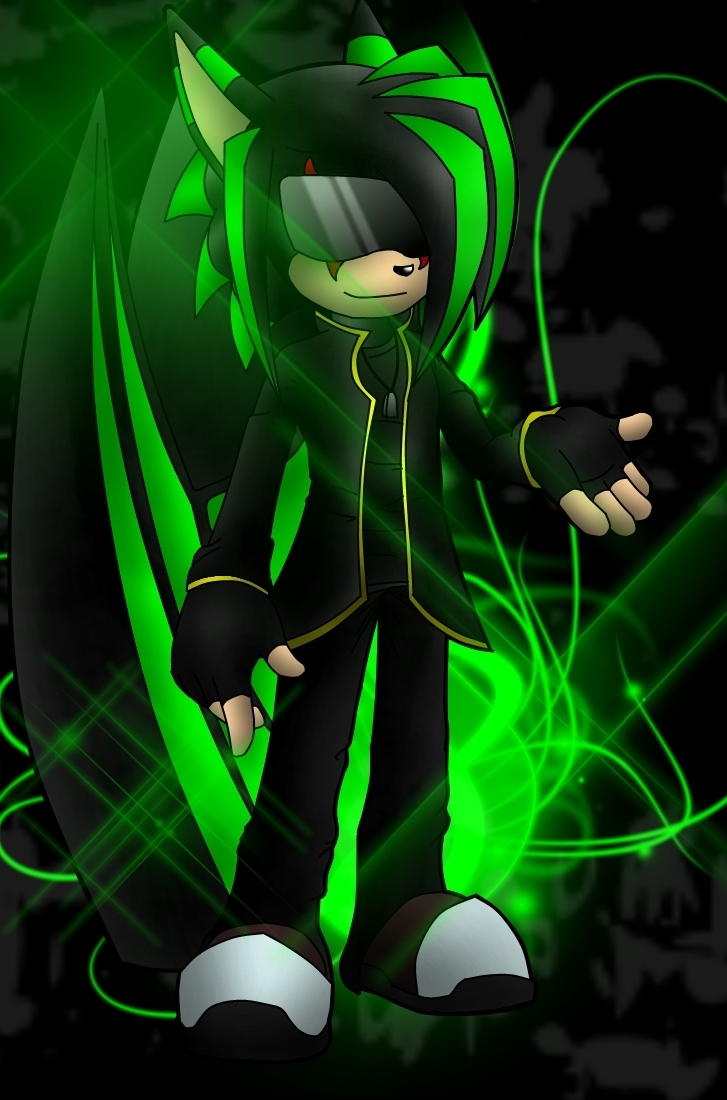
And here we have the finished product of your hard work!
Hope this tutorial helped, and if you've got any further questions as to how I work, feel free to ask.
This club is having serious problems. Do you know what that is? It's ORIGINALITY!!! So that BlazeCat girl made a Truth or Dare RP. Next thing you know that Kittiez girl made one. 1st I thought that was fine, but then I thought about it, and that's plain copying. SilverAnime122 made a RP on her FC Dominique transforming into her Toxic form. Then before you know it that BlazeCat girl makes one that her FC "Sharmaine" transform into a monster from some damn brownies. Like, give me a Dorito and I'll turn into Barney. -.-" That girl that "owns" that FC Diane apparently doesn't. Like really? You know that's art theft, right? And it wouldn't of, I think, if you asked for permission and gave credit. Plus, you can't draw if you don't try. -.-" I know I suck but I keep trying. RECOLORS COUNT!! And I don't even need to add the other copiers. You guys know who I'm talking about. So people, please, BE. ORIGINAL!!!

Marth Stegtion
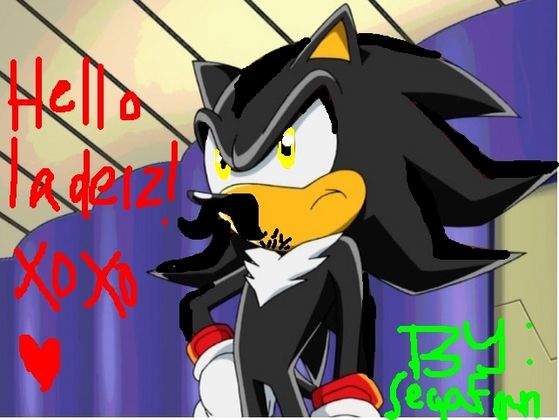
NAME!!!!!!!: ALEJANDRO "GARY STEW"
AGE!!!!!!!!: IMMORTAL LOLOL!!!!!!!!!!!
HEIGHT!!!!!!!!: IDK ASK HIM
COLOR!!!!!!!: BLACK
EYECOLOR!!!!!!: YELLOW
GIRLFRIENDS!!!!!!!: HE DSNT HAV N E BCUZ HE JUST SEXES THEM THN MOVS ON TO DA NEXT 1!!!!!!!!
BIO!!!!!!!!!!!!!!!!!!: ALEJANDRO WAS BRN IN MEXICO (OLE!!!!!!!!!!!!!!!!!!!!!!!!!!) N THN HE RRLZED DAT HES DA CHOSEN 1 2 SVE DA WURLD!!!!!!!!!!!!!!
POWERS!!!!!!!!!!!: EVERYTHING PLS HE CNTRLS DA ELEMNTS
YEH N HES A PLAYA N STUFF N HE HAS A MUSTASHE N STBBLE SO YAH!!!!!!!!!!!!!!!!!!!!!!!!!!!!!!!!! NJOY DIS PIC!!!!!!!!! I MDE IT SO YAH!!!!!!!!!! XOXOXOXOXOXOXO!!!!!!!!!!!!!!!!!!!
-MINA AKA SEGAFAN AKA DA BEST DRAWERER IN DA WURLD LOLZ ;)
"Why?"Zouge asked." Because u have to."Her mom told her." But I hate Mysee she evil. "O just like you."She giggle. "Well yeah...but she more evil than me!" Look I don't care your going and thats thats." "Fine but I'm not going to like it."She yelled. Her mother sighed then walked away. Zouge and Mysee hated each other. They always did for many resons but one of the main resons was because that Zouge was a princess and well Mysee wasn't. "Why why do I have to go?"That all Zouge trought as her and her famliy fue to Mysee house...or to her death.
1.)Star likes the color pink!
2.)She likes wolfs and dogs!
3.)She has a brother that is 19 years old!
4.)Likes music.
5.)Has a crush on tails.
6.)Has a pet wolfdog mix.
7.)Is always there for her friends!
8.)She wets her bed because she has bad dreams.
9.)She is sometimes a crybaby.
10.)Loves to sing, alot!
11.)Is Shock's best friend.
12.)Loves to wach the news.
13.)Loves to read the news paper.
14.)Loves to read books.
15.)Loves the color blue.
16.)Hugs alot of ppl that she knows.
17.)Hates ppl that she dose it knows.
18.)She is always happy.
19.)Feels safe with Shock & Emily
20.)For a little girl she can kick ass.
21.)She loves her pet wolfdog mix
22.)Star looks up to shock as a brother.
Emerald:Makes Breakfast
Milla:Omfg BREAKFAST *grabs a pancake out of the oven OUCH!! breakfast *eats pancake* Can We Drive To The Prom Yet Emerald :No Its Not Time it starts at 7:33 Sharp and mollie,sandance,and Rebbecca are still working on there dress Shappire:Time To Go To School And I Will Kill Steve If He Pulls My Hair Again Emerald:You Dont Have To Kill Him you can just tell the teacher or hit him Milla:*Calls Asto* Come To The House Now Asto:Okay Im Coming i need to pick up something real quick thought
Milla:Well Hurry UP *Studys* Time To Go To School The BUS!! everyone runs Milla and Emerald : few and its alos the talent show aduitions lets go!!!!!!!! Shappire:im going on my cell *sees the internet* Listens to Giflfriend In Portuguese
Stay Tuned For Part 4